- 애플의 Messages 앱에는 각 메세지 버블을 누르고 있으면 리액션을 남기는 기능이 있습니다.
- SwiftUI로 이와 같은 커스텀 Context Menu를 만들어 보겠습니다.
ViewModifier 만들기
- 어떤 View에서든 사용할수 있도록
customContextMenu를 modifier로 만들어봤습니다. - 이 함수는
CustomContextMenuModifier를 modifier로 넘겨주는 역할을 합니다.
extension View {
    func customContextMenu<CustomView: View>(
        customView: () -> CustomView,
        menu: @escaping () -> UIMenu,
        tapped: @escaping () -> () = {}
    ) -> some View {
        self.modifier(
            CustomContextMenuModifier(
                customView: customView(),
                menu: menu(),
                tapped: tapped
            )
        )
    }
}
- 실직적인 ViewModifier를 준수하는
CustomContextMenuModifier는 다음과 같습니다. - 여기에는
ContextMenuHelper와 readSize 같은 코드가 포함되어 있는데, 이어서 알아보도록 하겠습니다.
struct CustomContextMenuModifier<CustomView: View>: ViewModifier {
    @State var customSize = CGSize.zero

    var customView: CustomView?
    var menu: UIMenu
    var tapped: () -> ()

    func body(content: Content) -> some View {
        content
            .hidden()
            .overlay(
                ContextMenuHelper(
                    customSize: $customSize,
                    content: content,
                    customView: customView,
                    menu: menu,
                    tapped: tapped
                )
            )
            .overlay(
                customView?
                    .hidden()
                    .readSize { customSize = $0 }
            )
    }
}
UIKit 활용하기
- 다음은
ContextMenuHelper 구현 부분으로 UIKit의 Context Menu 관련 코드를 활용합니다. - SwiftUI에서 받아온 View, Menu, 그리고 로직을 Context Menu에 실질적으로 녹여내는 부분입니다.
struct ContextMenuHelper<Content: View, CustomView: View>: UIViewRepresentable {
    @Binding var customSize: CGSize

    var content: Content
    var customView: CustomView
    var menu: UIMenu
    var tapped: ()->()

    func makeCoordinator() -> Coordinator {
        return Coordinator(parent: self)
    }

    func makeUIView(context: Context) -> UIView {
        let view = UIView()
        view.backgroundColor = .clear

        let hostView = UIHostingController(rootView: content)
        hostView.view.translatesAutoresizingMaskIntoConstraints = false

        let constraints = [
            hostView.view.topAnchor.constraint(equalTo: view.topAnchor),
            hostView.view.leadingAnchor.constraint(equalTo: view.leadingAnchor),
            hostView.view.trailingAnchor.constraint(equalTo: view.trailingAnchor),
            hostView.view.bottomAnchor.constraint(equalTo: view.bottomAnchor),

            hostView.view.widthAnchor.constraint(equalTo: view.widthAnchor),
            hostView.view.heightAnchor.constraint(equalTo: view.heightAnchor),
        ]

        let interaction = UIContextMenuInteraction(delegate: context.coordinator)
        view.addSubview(hostView.view)
        view.addConstraints(constraints)
        view.addInteraction(interaction)

        return view
    }

    func updateUIView(_ uiView: UIView, context: Context) { }

    class Coordinator: NSObject, UIContextMenuInteractionDelegate {
        var parent: ContextMenuHelper

        init(parent: ContextMenuHelper) {
            self.parent = parent
        }

        func contextMenuInteraction(
            _ interaction: UIContextMenuInteraction,
            configurationForMenuAtLocation location: CGPoint
        ) -> UIContextMenuConfiguration? {
            UIContextMenuConfiguration(identifier: nil, previewProvider: nil) { items in
                return self.parent.menu
            }
        }

        func contextMenuInteraction(
            _ interaction: UIContextMenuInteraction,
            willPerformPreviewActionForMenuWith configuration: UIContextMenuConfiguration,
            animator: UIContextMenuInteractionCommitAnimating
        ) {
            self.parent.tapped()
        }

        func contextMenuInteraction(
            _ interaction: UIContextMenuInteraction,
            configuration: UIContextMenuConfiguration,
            highlightPreviewForItemWithIdentifier identifier: NSCopying
        ) -> UITargetedPreview? {
            guard let interactionView = interaction.view else { return nil }
            guard let snapshotView = interactionView.snapshotView(afterScreenUpdates: false) else { return nil }

            let padding: CGFloat = 16

            let customView = UIHostingController(rootView: parent.customView).view!
            customView.frame = CGRect(origin: CGPoint(x: 0, y: 0), size: parent.customSize)
            customView.backgroundColor = .clear
            customView.layer.cornerRadius = 15
            customView.layer.masksToBounds = true
            customView.translatesAutoresizingMaskIntoConstraints = false
            customView.transform = CGAffineTransform(translationX: 0, y: UIScreen.main.bounds.height)

            UIView.animate(
                withDuration: 0.5,
                delay: 0.5,
                usingSpringWithDamping: 1,
                initialSpringVelocity: 1,
                options: .curveEaseOut,
                animations: {
                    customView.transform = .identity
                    customView.alpha = 1
                },
                completion: nil
            )

            snapshotView.layer.cornerRadius = 20
            snapshotView.layer.masksToBounds = true
            snapshotView.translatesAutoresizingMaskIntoConstraints = false

            let containerWidth = max(parent.customSize.width, snapshotView.frame.width)
            let containerHeight = parent.customSize.height + snapshotView.frame.height + padding
            let containerSize = CGSize(width: containerWidth, height: containerHeight)
            let container = UIView(frame: CGRect(origin: .zero, size: containerSize))

            container.backgroundColor = .clear
            container.addSubview(customView)
            container.addSubview(snapshotView)

            customView.leadingAnchor.constraint(equalTo: container.leadingAnchor).isActive = true
            customView.topAnchor.constraint(equalTo: container.topAnchor).isActive = true
            customView.widthAnchor.constraint(equalToConstant: parent.customSize.width).isActive = true
            customView.heightAnchor.constraint(equalToConstant: parent.customSize.height).isActive = true

            snapshotView.widthAnchor.constraint(equalToConstant: interactionView.frame.width).isActive = true
            snapshotView.centerXAnchor.constraint(equalTo: container.centerXAnchor).isActive = true
            snapshotView.bottomAnchor.constraint(equalTo: container.bottomAnchor).isActive = true
            snapshotView.topAnchor.constraint(equalTo: customView.bottomAnchor, constant: padding).isActive = true

            let centerPoint = CGPoint(
                x: interactionView.center.x,
                y: interactionView.center.y - (customView.bounds.height + padding) / 2
            )
            let previewTarget = UIPreviewTarget(container: interactionView, center: centerPoint)
            let previewParams = UIPreviewParameters()
            previewParams.backgroundColor = .clear
            previewParams.shadowPath = UIBezierPath()

            return UITargetedPreview(view: container, parameters: previewParams, target: previewTarget)
        }
    }
}
유틸성 코드
- 다른 코드에서 사용된 유틸성 코드입니다.
readSize는 해당 View의 사이즈를 읽어옵니다.
extension View {
    func readSize(onChange: @escaping (CGSize) -> Void) -> some View {
        background(
            GeometryReader { proxy in
                Color.clear
                    .preference(key: SizePreferenceKey.self, value: proxy.size)
            }
        )
        .onPreferenceChange(SizePreferenceKey.self, perform: onChange)
    }
}

struct SizePreferenceKey: PreferenceKey {
    static var defaultValue: CGSize = .zero
    static func reduce(value: inout CGSize, nextValue: () -> CGSize) {}
}
- Context Menu를 닫기 위해 사용되는
dismissTopViewController 코드입니다.
extension View {
    func dismissTopViewController() {
        let windowScene = UIApplication.shared.connectedScenes.first as? UIWindowScene
        let window = windowScene?.windows.first

        if var topController = window?.rootViewController {
            while let presentedViewController = topController.presentedViewController {
                topController = presentedViewController
            }
            topController.dismiss(animated: true)
        }
    }
}
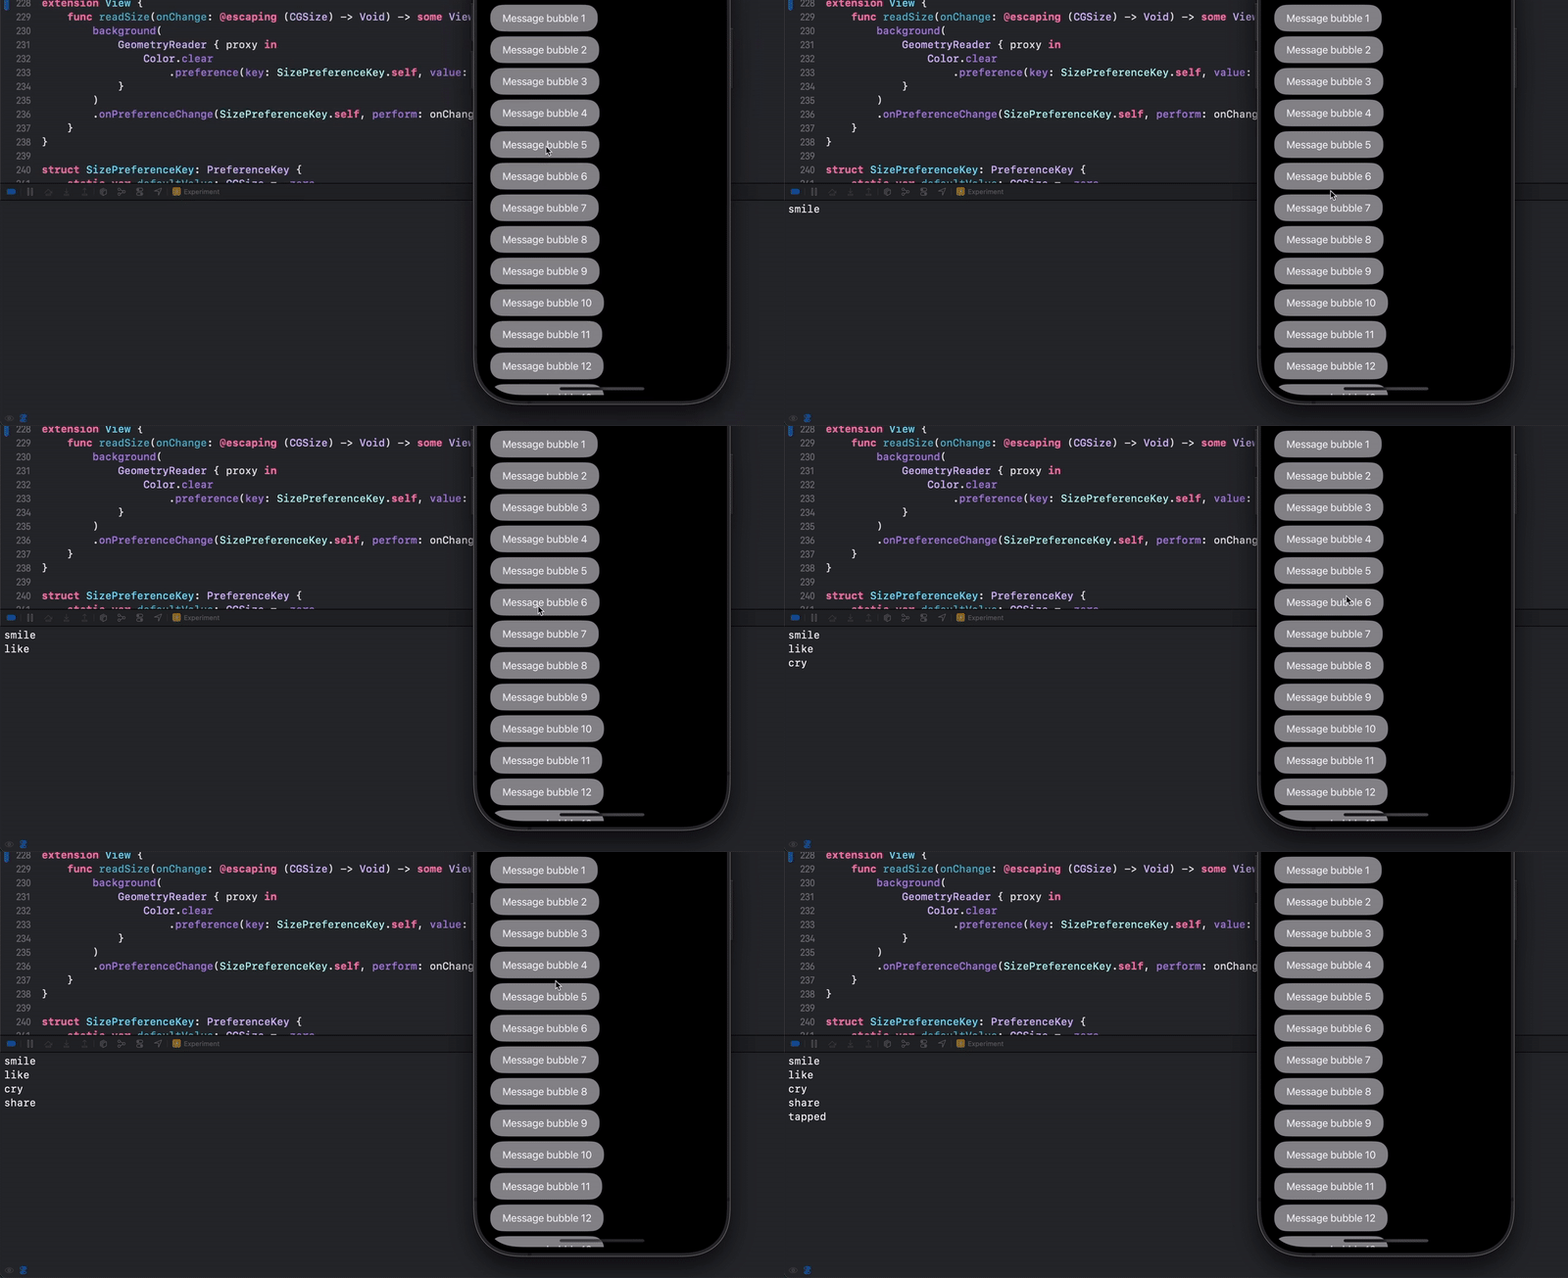
- 이렇게 완성된
customContextMenu를 사용한 예시 코드입니다.
struct CustomContextView: View {
    @State var items = Array(0..<30)

    var body: some View {
        List(items, id: \.self) {
            Text("Message bubble \($0)")
                .foregroundColor(.white)
                .padding(.vertical, 12)
                .padding(.horizontal, 20)
                .background(.gray)
                .cornerRadius(20)
                .customContextMenu {
                    HStack {
                        Button("😀") {
                            print("smile")
                            dismissTopViewController()
                        }
                        Button("🥹") {
                            print("oh")
                            dismissTopViewController()
                        }
                        Button("😂") {
                            print("cry")
                            dismissTopViewController()
                        }
                    }
                    .buttonStyle(.borderless)
                    .frame(width: 150, height: 50)
                    .background(.thinMaterial)
                } menu: {
                    UIMenu(title: "", children: [
                        UIAction(title: "Like", image: UIImage(systemName: "circle")) { _ in print("like") },
                        UIAction(title: "Share", image: UIImage(systemName: "circle")) { _ in print("share") }
                    ])
                } tapped: {
                    print("tapped")
                }
                .listRowInsets(EdgeInsets(top: 4, leading: 12, bottom: 4, trailing: 12))
                .listRowSeparator(.hidden)
        }
        .listStyle(.plain)
    }
}
결과물


